Getting started
There are two ways in: install a release on the camera's Raspberry Pi, which is what you want for a camera that will actually stand outside, or run from a source checkout with a synthetic camera, which needs no hardware at all.
Don't have a camera yet? See Cameras — the AstroMeters AMASC01, or build your own.
On a Raspberry Pi
1. Install
One command, no source checkout and nothing to build on the Pi:
curl -fsSL https://github.com/roman-dvorak/caelum/releases/latest/download/install.sh | sudo bashIt installs Redis and libcamera's picamera2 from apt, creates a caelum system user, installs the release (backend plus the built web UI) under /opt/caelum and starts it as a systemd service. The camera backend defaults to picamera2 on a Pi; pass --camera opencv for a USB webcam. Details and options: Deployment.
2. Log in
On first start caelum creates an admin account with a random password:
sudo cat /etc/caelum/initial-admin-password.txtOpen http://<pi-address>:8000/, log in as admin, change the password and delete the file. Roles and the auth settings: Access & security.
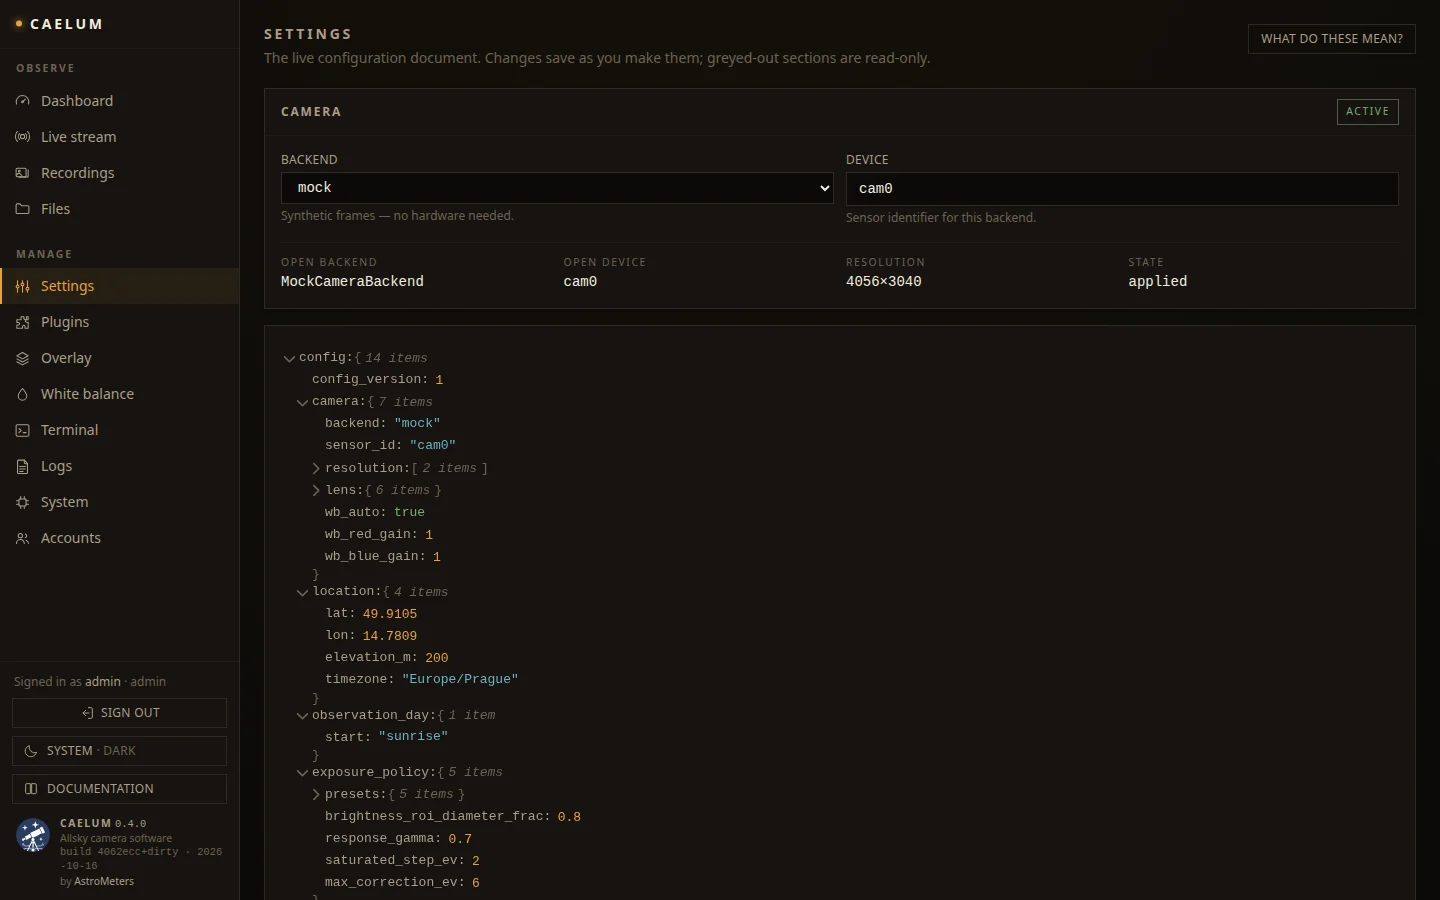
3. Tell it where it is
Set the observing site under Settings — location.lat and location.lon. Exposure is driven by the real altitude of the sun and the moon at that site, so until it is right the camera exposes for someone else's sky. See Concepts.
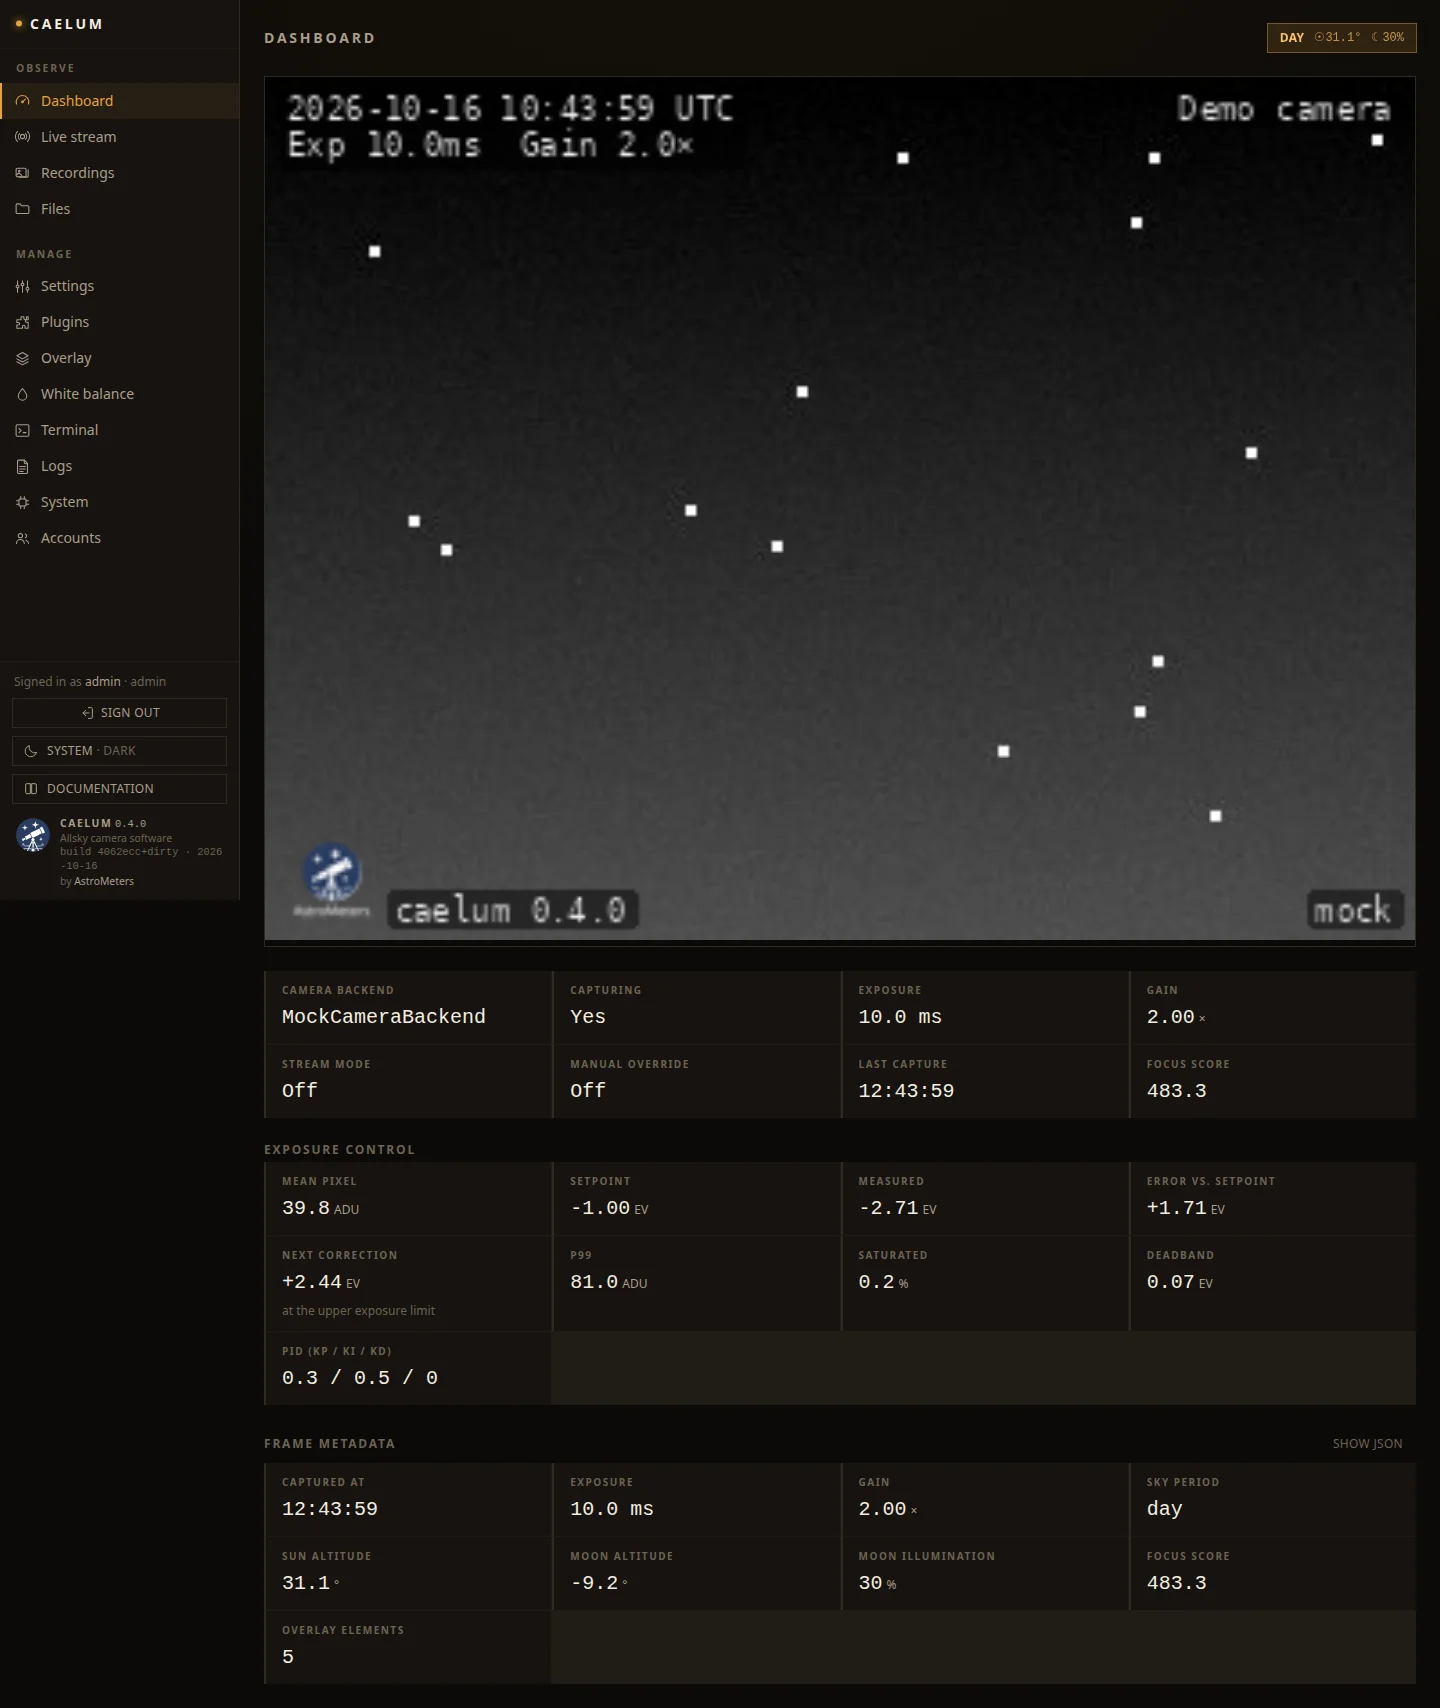
4. Check the first frames
The dashboard shows the live frame, the current sky period and the exposure the control loop has chosen; Web interface walks through the rest. To publish images to a web host and the remote viewer, set up Upload & archive.
Later releases install from the web UI with automatic rollback — see Updates.
From source, with no hardware
For development, or to try caelum on a laptop. The mock backend produces synthetic frames, so the whole pipeline — exposure loop, storage, derivatives, API and UI — runs without a camera.
Requirements
- Python 3.11 or newer.
pyproject.tomldeclaresrequires-python = ">=3.11"(Raspberry Pi OS Bookworm's Python); older interpreters will not resolve. - uv for dependency management. The project ships a
uv.lockand usesuv_buildas its build backend. - Redis, reachable over TCP. It is not strictly required — the process logs a warning and runs off the disk config alone if it cannot connect — but you want it for config change notifications and fast reads.
- rsync, if you intend to upload to a remote archive.
- Node 22.13+ and pnpm, only if you want to build the web UI.
Everything else is a Python dependency: FastAPI, uvicorn, pydantic, redis, numpy, opencv-python-headless, astropy, python-dotenv. There is no ephemeris file to download and no runtime network access needed for sky calculations — astropy's bundled analytic ephemeris is used with IERS auto-download disabled.
Install
git clone <your-remote>/caelum.git
cd caelum
uv sync                 # runtime deps only
uv sync --group dev     # add pytest, ruff, httpx
On a Raspberry Pi, add the picamera2 extra to get the libcamera stack. It is declared with an ARM marker (aarch64 / armv7l), so it is simply skipped on a development laptop:
uv sync --extra picamera2Create the local directories and seed the config file from the shipped defaults:
./scripts/install.shThat creates ./data/raw, ./data/thumbnails, ./data/derivatives, ./data/pending-upload and ./config, and copies config/default.json to config/config.json if the latter does not exist yet.
Environment variables
These are bootstrap-only settings, read once from the environment (and from a .env file, via python-dotenv) at process start. They are deliberately separate from the runtime AppConfig: they are the handful of things the process needs before it can open the config store, and they are not expected to change without a restart. Copy .env.example to .env to set them.
| Variable | Default | Meaning |
|---|---|---|
CAELUM_CONFIG_DIR | ./config | Directory holding config.json (durable source of truth) and default.json (fallback if config.json is missing). Also where auth.json and the initial admin password file live. |
CAELUM_DATA_DIR | ./data | Root of the on-disk frame tree — raw/, thumbnails/, derivatives/, darks/. |
CAELUM_HTTP_HOST | 0.0.0.0 | Bind address for the HTTP server. |
CAELUM_HTTP_PORT | 8000 | Bind port. |
CAELUM_REDIS_URL | redis://127.0.0.1:6379/0 | Redis connection URL for the config store. |
CAELUM_CAMERA_BACKEND | (unset) | Overrides camera.backend from the config for one run. Unset by default — see below. |
CAELUM_LOG_LEVEL | INFO | Root log level; also passed to uvicorn, lowercased. |
Paths are expanded (~) and resolved to absolute paths at load.
TIP
CAELUM_CAMERA_BACKEND is not an auto-detect. config.json's camera.backend is authoritative; this variable exists so a developer or CI run can force mock or opencv without touching the config. On real hardware, leave it unset and configure the backend properly.
First run
uv run caelumThe caelum console script is declared in pyproject.toml and points at caelum.main:run. On startup you will see a line like:
caelum starting: camera=mock http=0.0.0.0:8000 local-web=not builtFor local development there is a convenience runner that starts (or reuses) a local Redis, runs scripts/install.sh, and forces the mock backend:
./scripts/dev_run.shThe initial admin password
On first start, if no user database exists, caelum creates an admin account with a randomly generated password and writes it to:
<config_dir>/initial-admin-password.txtRead it, log in, change the password, then delete the file.
cat ./config/initial-admin-password.txtAccounts live in <config_dir>/auth.json, deliberately not in the main config document — that keeps password hashes out of the config editor in the web UI and out of anything that reads or exports config.json. See Security for roles and the auth config section.
Opening the web UI
Point a browser at http://<host>:8000/. If apps/local-web/dist has been built, FastAPI mounts it at / as static files and you get the full UI. If it has not, the API is still there — GET /api/status, GET /api/skystate, GET /api/config, GET /api/frame/latest.jpg, and the /ws/stream WebSocket — and the startup line says local-web=not built.
Useful first checks without a UI:
curl -s localhost:8000/api/status
curl -s localhost:8000/api/skystate
curl -s localhost:8000/api/frame/latest.jpg -o latest.jpg
Building the frontend
The frontend lives in web/ in the same repository; a source checkout serves the built assets from web/apps/local-web/dist. (A release wheel carries its own copy instead — see Deployment.)
cd web
pnpm install
pnpm -r build          # typechecks packages, builds both apps to dist/
Restart caelum afterwards; the static mount is decided once at startup.
For frontend development you do not need to rebuild on every change — run the Vite dev server instead, which proxies /api and /ws through to a running backend:
pnpm --filter local-web dev
# against a Pi on the LAN:
CAELUM_BACKEND_URL=http://raspberrypi.local:8000 pnpm --filter local-web dev
Tests
uv run pytestThe suite runs entirely against the mock backend and temporary directories — no camera, no Redis, no network.